
The Windows XP backup utility gives a built in way of create an automatic backup plan. Just a few settings and you’re ready to roll.
Without further ado, here’s how to use the Windows XP backup wizard should you choose to do so:
1. Click the Start button
2. Mouse over All Programs ►
3. Mouse over Accessories
4. Mouse over System Tools
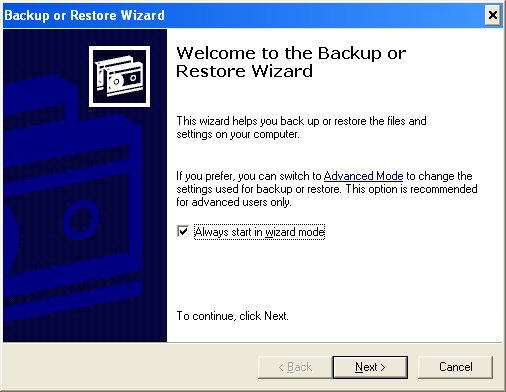
5. Select Backup
6. Click Next >
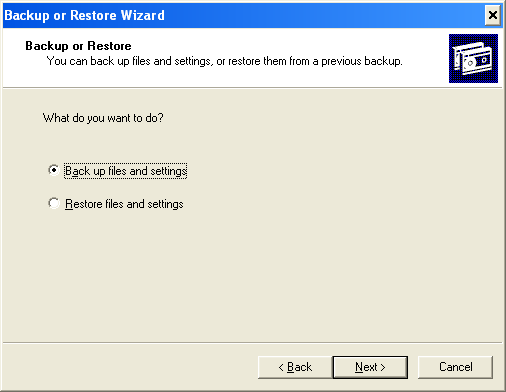
7. Make sure Back up files and settings is selected
8. Click Next >
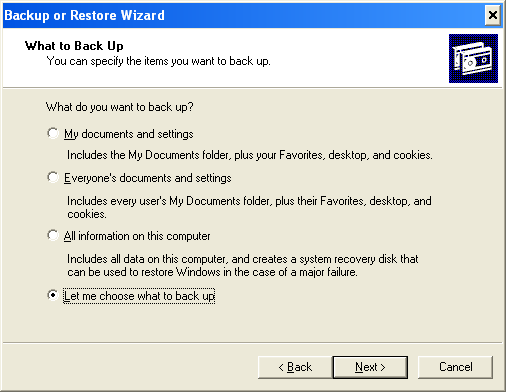
9. Make sure Let me choose what to back up is selected
10. Click Next >
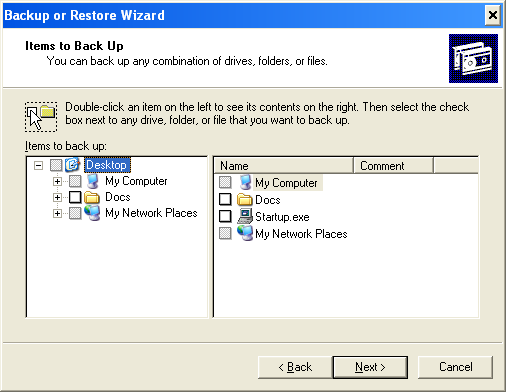
11. Select folders or files in My Computer to back up
12. Click Next >
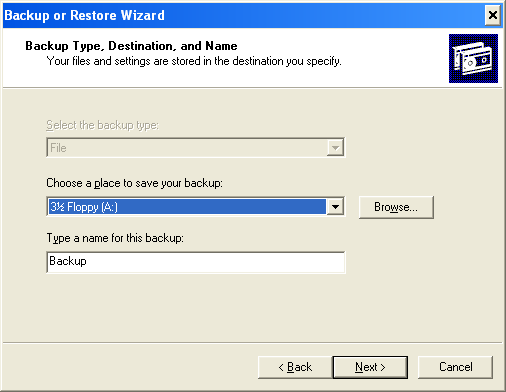
13. Choose a location to store the backup file
14. Name your backup file
15. Click Next >
16. Click Finish to complete the backup wizard

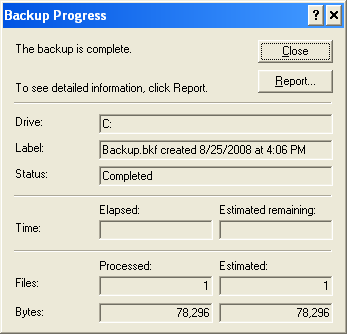
17. Sit back and relax while the backup process progresses
18. Click Close when the process is complete
Conclusion
It’s pretty simple to get the XP backup utility rolling and it doesn’t take too long to do. Of course, this depends on your file load. The thing I don’t like about this is that it packages up your files into a .BKF file format.
After dealing with .PST files for a couple years and how they easily get corrupted, I’m not convinced this is the way to go. You’re mileage may vary. Feel free to check out Microsoft’s article How to use Backup to protect data and restore files and folders on your computer in Windows XP.
Don’t be afraid to test this out and drop it if it does’t work for you.