Deciding where to put your shiny new WordPress website is a decision that shouldn’t be taken lightly. One awesome combo worth trying is having a new WordPress website on Vultr VPS and ServerPilot setup.
After fumbling around with traditional shared hosting for the last 15 years or so, We’ve finally found a combination that we absolutely love. These services give the perfect balance between managed hosting and self-hosting.
Even if you don’t know what a VPS or SSD is, you can get a live setup in 15 minutes or less. It’s not as complicated as it sounds.
But first, why not DigitalOcean or Linode? I’ve heard great things about both of these services. We even had a trusted friend speak highly of DigitalOcean.
Ultimately, the reason why we chose Vultr over both of these providers is due to server availability and latency. Vultr had a broader server selection and our tests revealed latency was lower across the board.
Today we will show you how to quickly and easily set up a new WordPress installation using Vultr and ServerPilot. If you choose to use another VPS service like DigitalOcean, that’s totally cool too.
The important thing here is to have a solid VPS running ServerPilot. The high speed of a VPS and ServerPilot’s automation will make your websites smoother to deploy.
Table of Contents
Section 1: Vultr VPS
1. Vultr Sign Up
Sign up for a Vultr VPS or simply log in if you already have an account.
2. Create New Server
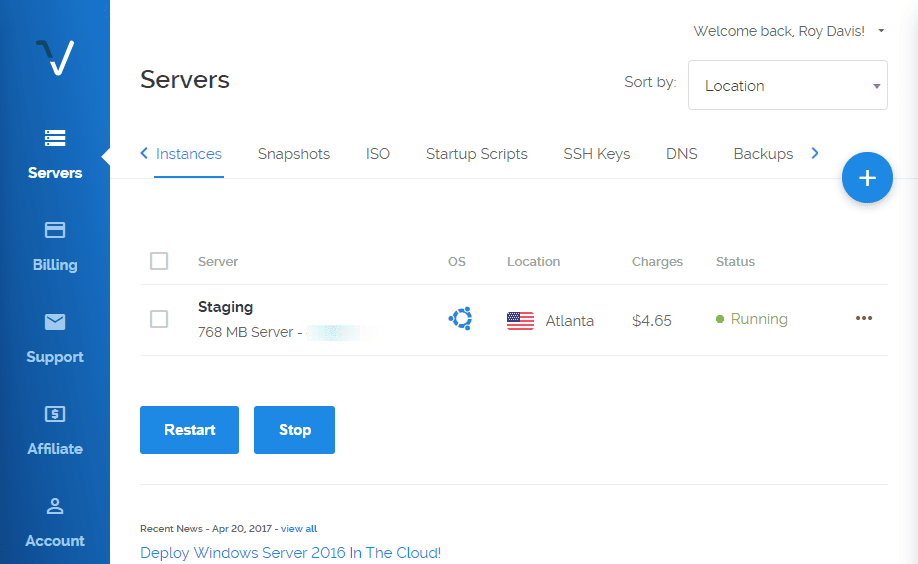
Click on the big plus icon in the blue circle to add a new server. You’ll see in the screenshot below we already have an existing staging server.
3. Pick a Server Location
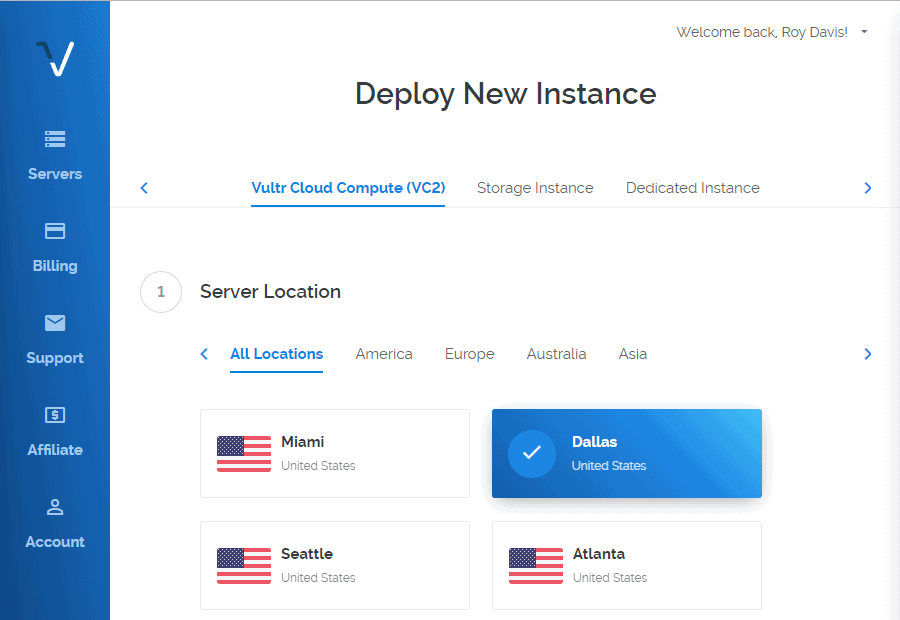
Choose a server location that makes sense to you. Are you a freelancer and want to choose a server close to your location of business? How about a centrally located server since you’ll be serving users online?
4. Choose Server Type
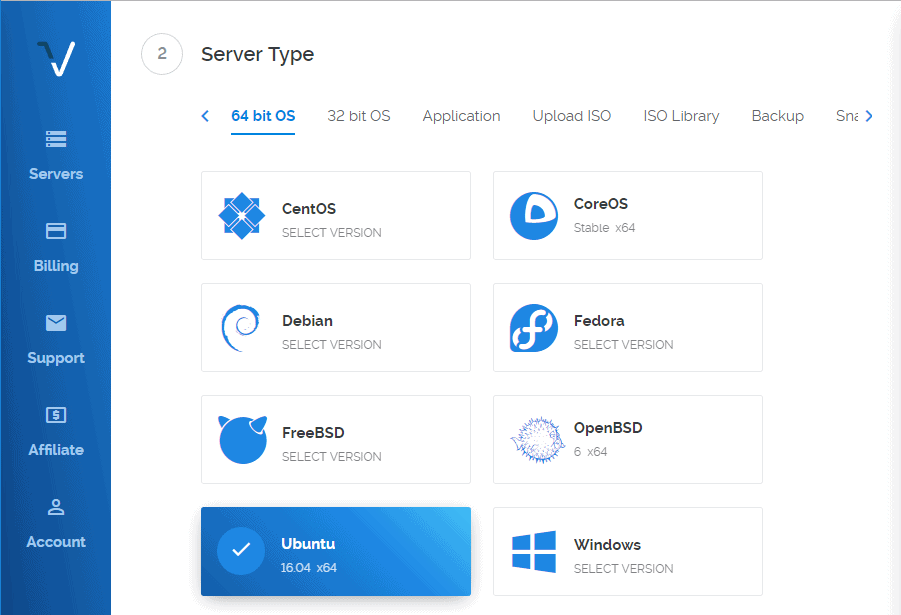
Pick server type Ubuntu 16.04 x64 (you need this version to be compatible with ServerPilot).
5. Select a Plan
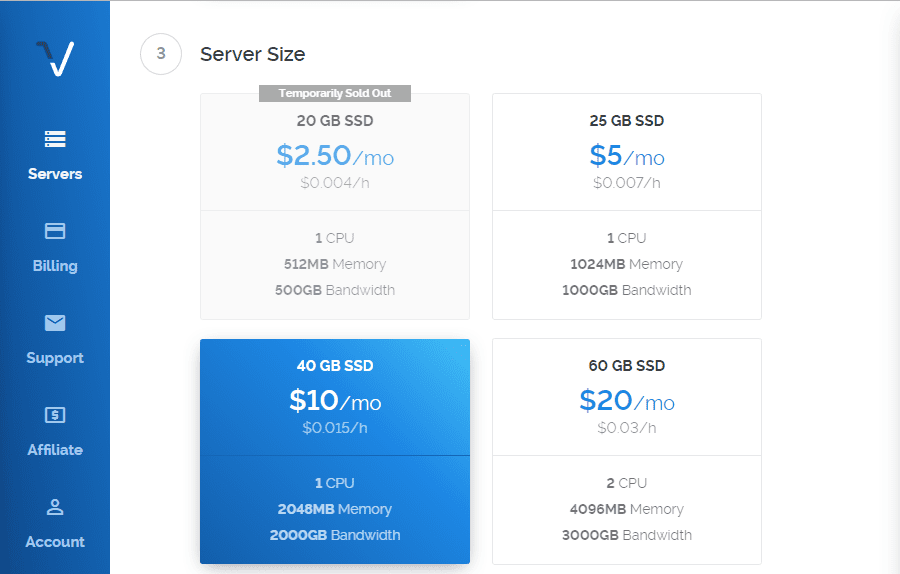
Choose a resources/billing plan you need. We recommend the $10 a month plan but it’s perfectly fine to go the $5 a month route.
6. Additional Features
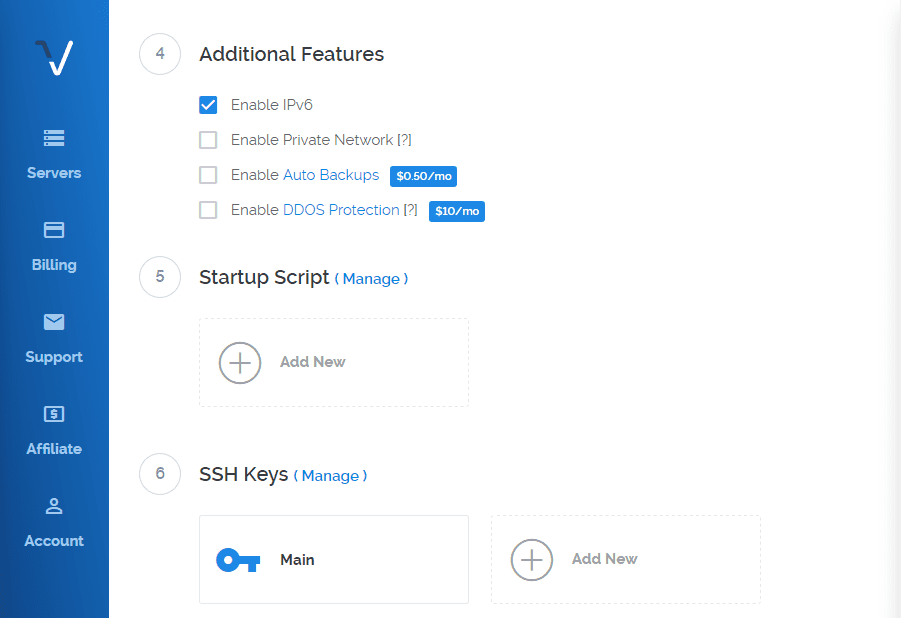
Tick the IPv6 box. If this is a critical server, you may wish to enable auto backups.
Don’t worry about Private Network, DDoS Protection, Startup Scripts, or SSH Keys right now. As you can see below, We made a set of SSH Keys. We can go over this later.
7. Come Up With a Label
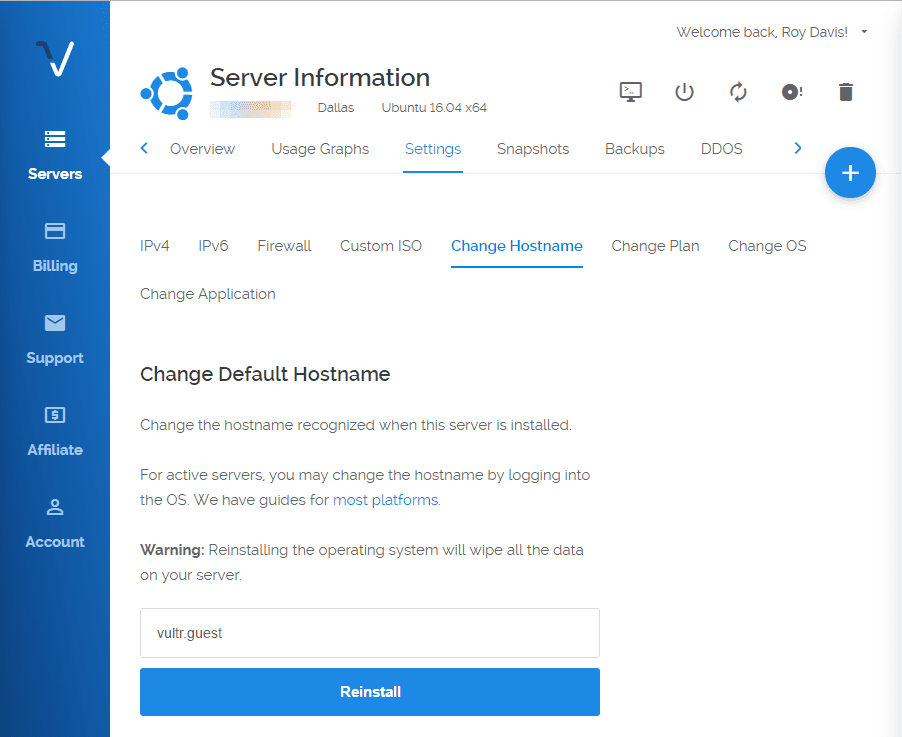
Create a label for your server. Choose something that makes sense to you. You will see this name in both Vultr settings and ServerPilot settings. Your users or customers will not see this.

If you choose not to enter a label for your server it will be vultr.guest by default. You can change this later but you’ll need to rebuild the server as you can see below.
8. Vultr Wrap Up
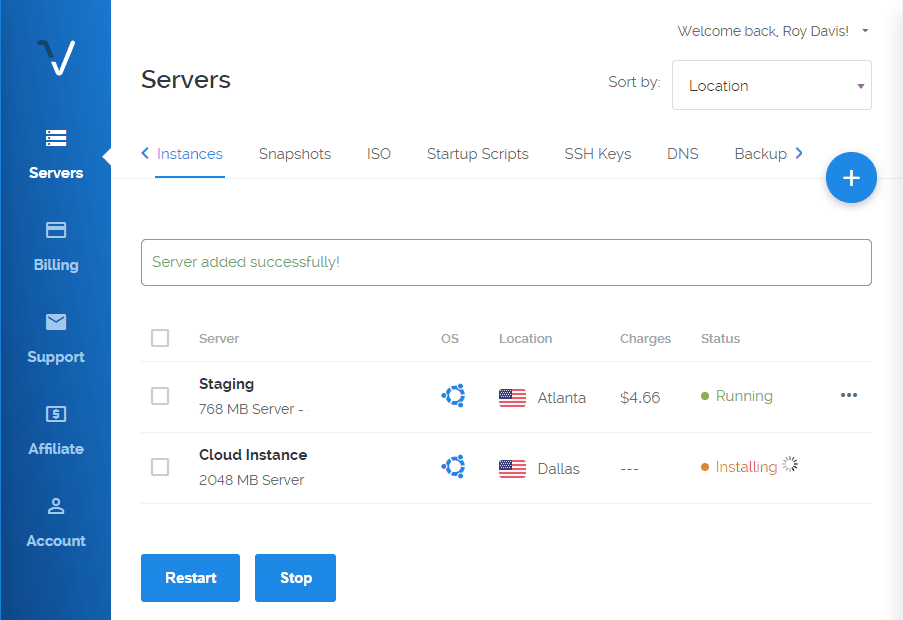
Click deploy now to spin up your shiny new VPS. In about 2 minutes your server will be running. You’ll also get an email confirmation.
9. VPS Server Details
You’ll want to keep this Vultr tab open. Once the server is running, click on the ellipsis looking icon to the right of the table under Status. Then click on Server Details.
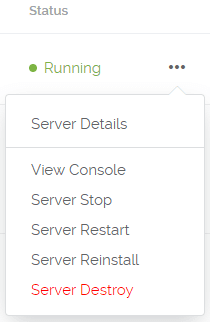
Leave this tab open on Server Details. That’s it for the Vultr part! You don’t want to install anything else from here. That wasn’t too bad, right?
Section 2: ServerPilot
1. ServerPilot Sign Up
Sign up for ServerPilot or simply log in if you already have an account.
2. Start to Connect Vultr VPS
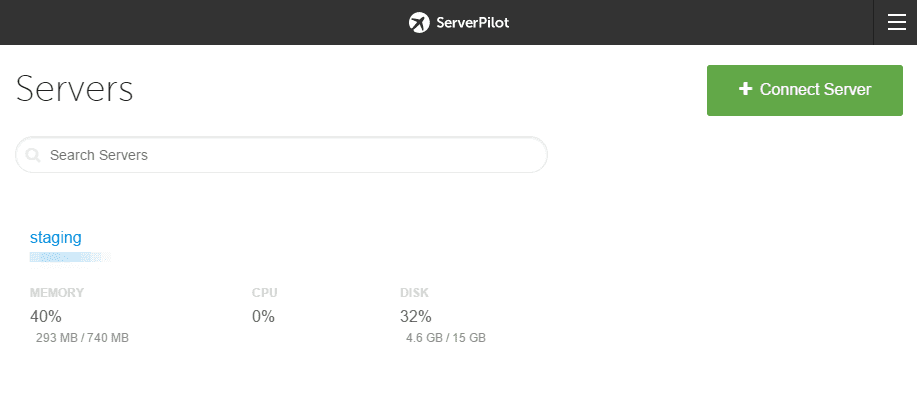
Connect the Vultr VPS server you created in Section 1 by clicking the Connect Server button. You’ll see below that we already have the aforementioned staging server setup.
3. Connect to Vultr VPS
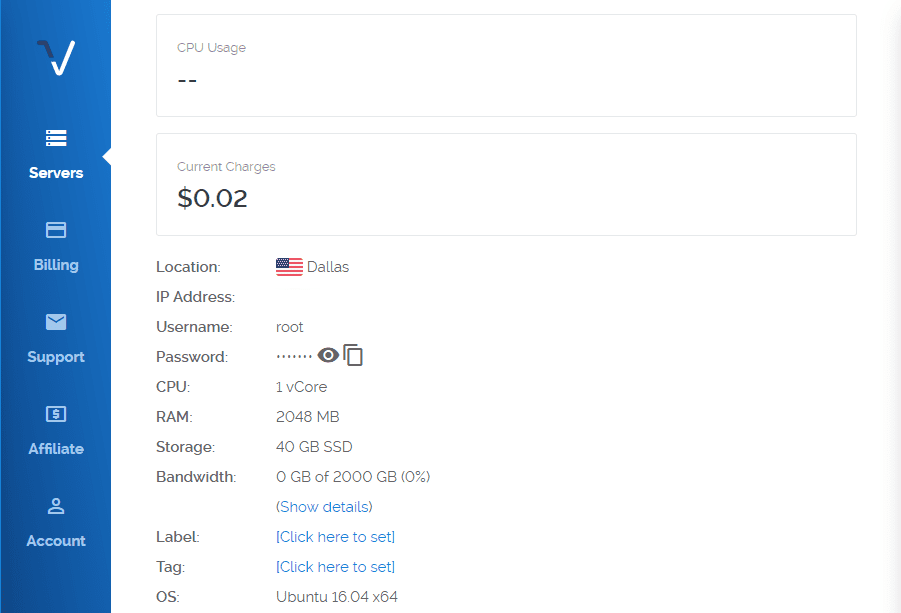
Enter IP and passwords (Refer back to your Vultr tab to get this information) and click Connect to ServerPilot button. This will start the services installation on your VPS for running websites.
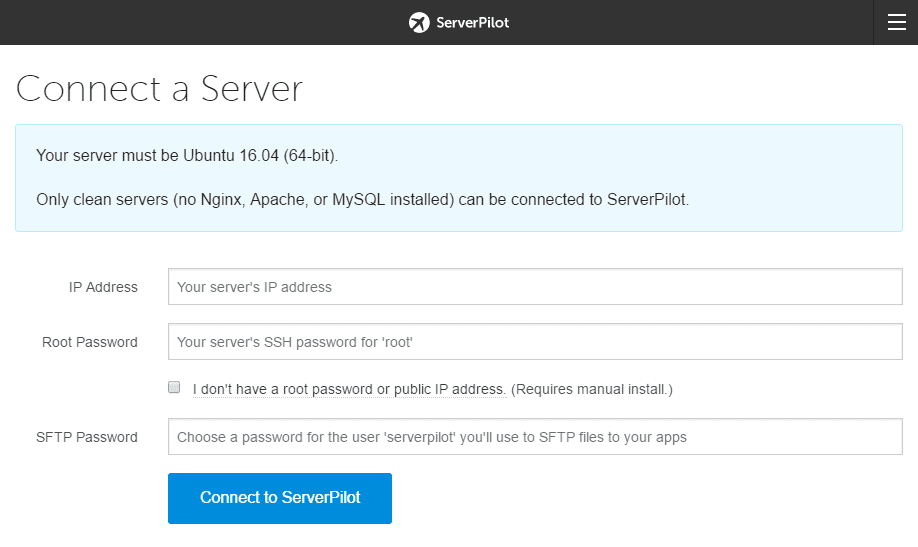
Once again, the Vultr server settings are located under Server Details.
The services installation will take 2-3 minutes to complete the install.

4. Create ServerPilot App
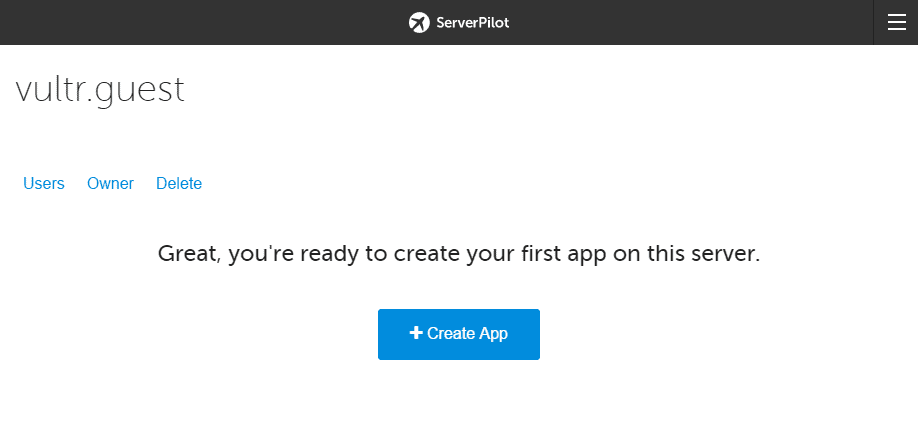
Click on the Create App button. The app creation phase is basically setting up your website.
5. Finalize App Setup
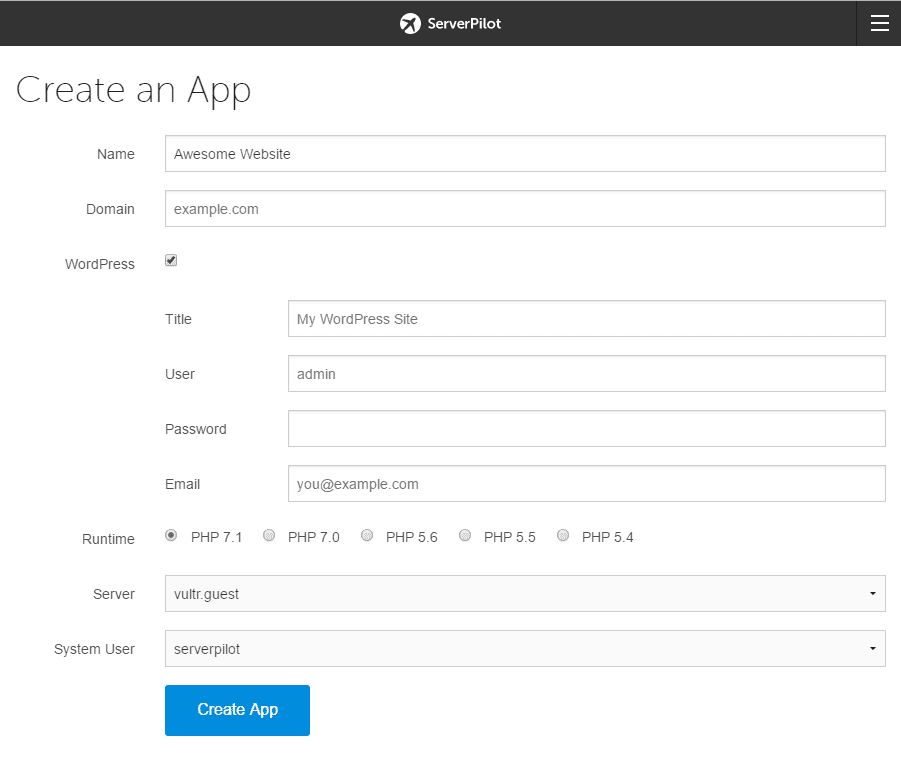
Next, you will need to name your app (no spaces) and put in your domain name. Check the WordPress box and put in your new WordPress login information.
Please for the love of God do not use admin as your username. Choose something more secure.
You’ll want PHP 7 is it’s the latest and greatest unless you specifically need a lower PHP version.
If you don’t know if you need a specific version, go with the highest version you can. You want to take advantage of the code improvements and speed.
By default, vultr.guest is created unless you chose a label. Then choose the default system user. By default this is serverpilot. Then click on Create App.
6. Put IP Address in Browser Bar
Wait a few moments (maybe 1 minute) and you should be able to visit your new website by IP. This is an easy verification that WordPress is in fact installed and working.

Section 3: Your Domain and DNS
1. Setup Domain
Now we’ll point the DNS to our domain name itself. DNS is a service that resolves your IP address to a name so you don’t have to remember those pesky IP numbers. We like Google Domains as our registrar. So we log in and select Configure DNS.
We look for Custom resource records to put in the next part. Your registrar’s location will vary.
Then we add an A record which points to our Vultr server IP. You can add an AAA record (optional, but will be required eventually) that points to your IPv6 address. Again, both of these addresses are found in your Vultr dashboard.
You can also create what’s called a CNAME record for www so your website always resolves without the www. For example http://yourdomain.com. This could be part of your upcoming SEO strategy or maybe you just like shorter URLs. That’s totally cool.
For each record, you put in a 1 minute TTL (time to live) so the new records can resolve faster. Eventually, you will want to switch the TTL to something around 30 minutes. There isn’t really a reason to go beyond 60 minutes.
2. Example DNS Records
Name | Type | TTL | Data |
|---|---|---|---|
| A record | 1 min | YOUR IPv4 ADDRESS HERE |
| AAAA record | 1 min | YOUR IPv6 ADDRESS HERE |
| CNAME record | 30 mins | YOURDOMAIN.com |
Note: This is the order in Google Domains. Your DNS order or labels may be slightly different but the process is still the same.
3. Check Your Domain Name
Now’s the moment of truth. You want to check that DNS is actually resolving to your server IP. Type your domain name in your browser address bar. If you still aren’t seeing the new website you may need to flush your DNS cache on your machine.
Windows: Launch a command prompt and enter ipconfig /flushdns.
Mac: Launch the terminal and enter sudo killall -HUP mDNSResponder (for OS X 11 and 12 – earlier versions have different commands).
Note: You may also need to close and reopen your browser before you revisit the website.
Section 4: Wrapping Up
1. Back to ServerPilot
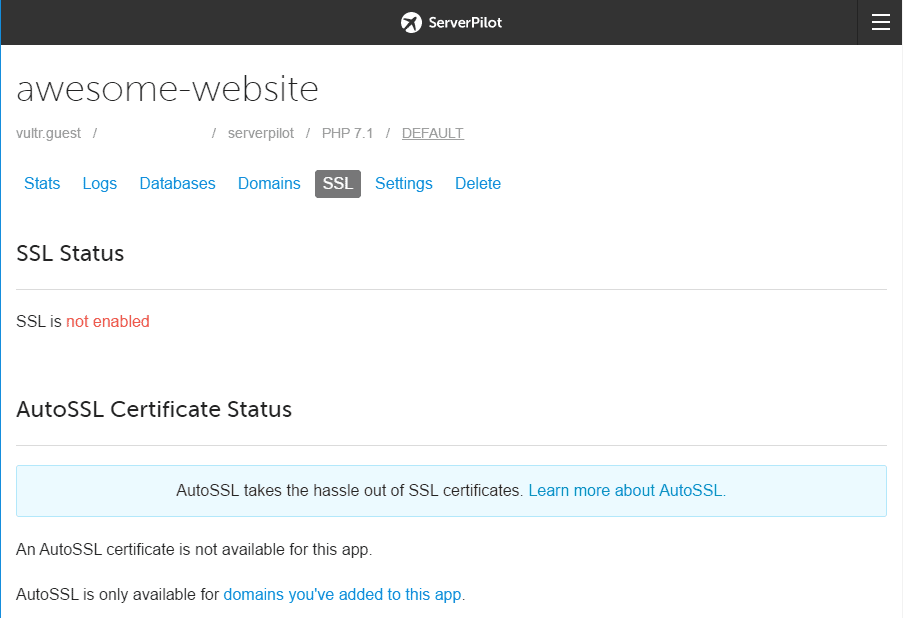
Return to ServerPilot. Click on the SSL Page under the Apps menu. Click on Enable AutoSSL. It may take a minute or 2 to fully enable.
2. Redirect HTTP to HTTPS
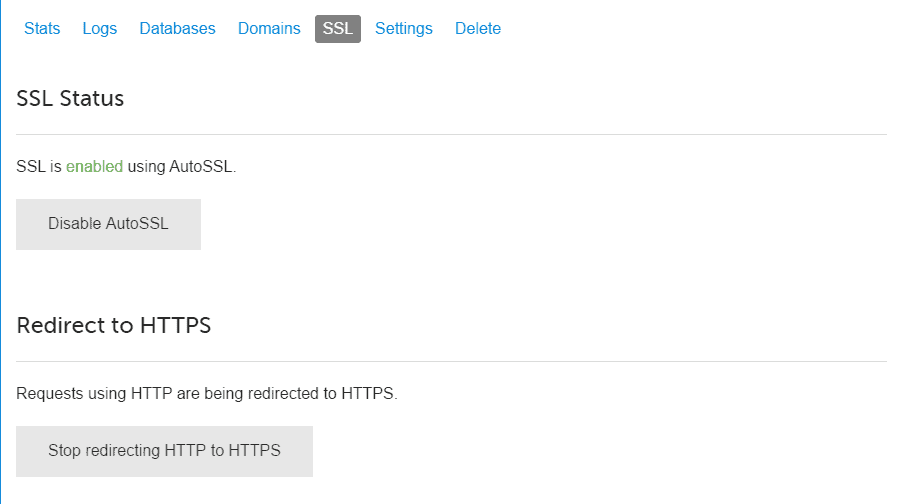
After AutoSSL is enabled, click the button to Redirect HTTP to HTTPS right below that. The screenshot below shows this already enabled.
3. Enable Security Features
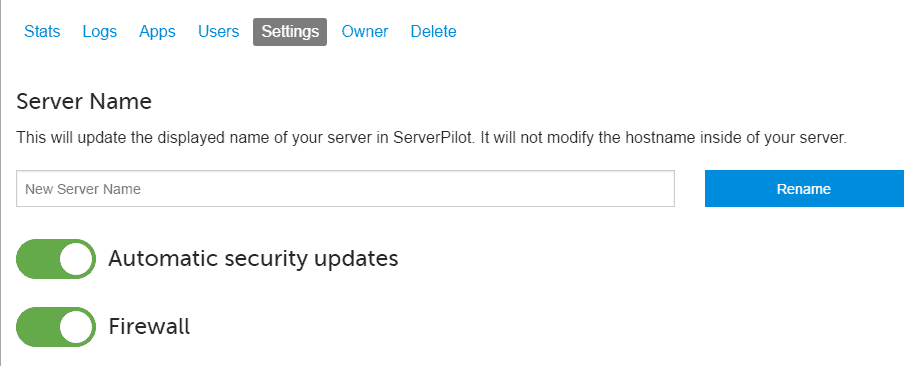
Click on Settings under the Server menu. Make sure Automatic security updates and Firewall are both enabled. They should be by default.
4. Back to Vultr
Return to Vultr. Click on the Support menu and then click on Open Ticket. You will be submitting a ticket to lift the email (SMTP) block. They have emails from your websites blocked by default. This is an effort to fight against spam. Just let them know you’re a real person. Here’s our exchange with a Vultr rep to give you an idea:
Our Opening Ticket
Hi, I’m currently loving Vultr. It’s leagues better than traditional shared hosting and my tests have been great. I noticed you block all outgoing emails for new accounts. I kindly request that the restriction is lifted from my account.
I’m a real customer and am only interested in generating system emails like contact form submissions, website diagnostics, and account emails. For example, I tried to reset my password (as a test) and I never received the account email.
Other types of emails may arise but I have no intention of sending mass emails. I will be using ConvertKit for that. I also plan to use security plugins (I think I have Wordfence installed at the moment).
Thank you for your assistance.
And here’s their reply less than 2 minutes later (not exaggerating):
Quick Support Reply
Hello, I have removed the default SMTP block on your account. Please restart any active instances via https://my.vultr.com for the change to take effect (restarting via the server itself will not work).
For reference, our ANTI-SPAM policy is listed here:
https://www.vultr.com/legal/antispam_policy/
That’s it! Yer’ dun.
Section 5: Conclusion
As you can see Vultr and ServerPilot combined makes a powerful and awesome combination. Our experience with Vultr support was very good. They solved our ticket at lightning fast speed.
We haven’t needed support with ServerPilot yet so we can’t speak about how good it is but it’s easy to get to support as it’s on the main left menu. The Open a Support Ticket button is at the bottom of the Support page.
Both Vultr’s documentation and ServerPilot’s documentation are pretty good. Check them out:
Hopefully, this tutorial on how to install WordPress on Vultr and ServerPilot was helpful. We spent nearly 20 hours making this tutorial for you.
One last thing: If you made it to this page by accident and your head hasn’t exploded from all the technical nonsense, just use Bluehost. They will have what you need to get started.

